Check Out Check In using SQLite Database
P6 Professional provides the Check Out feature so that a project can be worked on remotely, without direct access to the main DB. In R19 the options have improved for the Check Out Check In process. You can no longer check out to XER format. R19 now utilizes the P6 XML format for Check Out, however in a fantastic improvement you can now Check out to a local SQLite Database.
To Use the SQLite Database option, you must be using an EPPM database, or a PPM centralised database installed in a Database Engine (Oracle Express or Microsoft SQL Server).
The Check Out process locks the Project in the main Database so other users can no longer make changes. This article describes the process you need to adopt to Check Out a Project using the local SQLite Database option.
These tips are shown in P6 R20.12, but are relevant for R19 and on versions of P6.
Creating Oracle P6 Primavera Stand-Alone SQLite Database
Follow these steps to create the SQLite Database on your computer. Please note, the visual style will change between versions, but the general content remains the same
Step 1:
Login to P6 Professional and open the project to you want to Check Out.
Step 2:
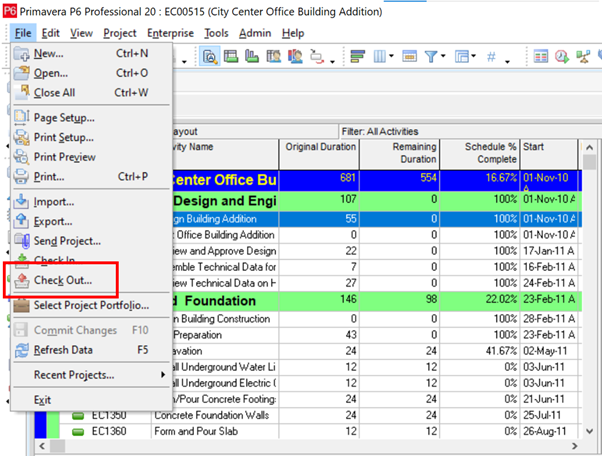
Click File, then Check Out
Step 3:
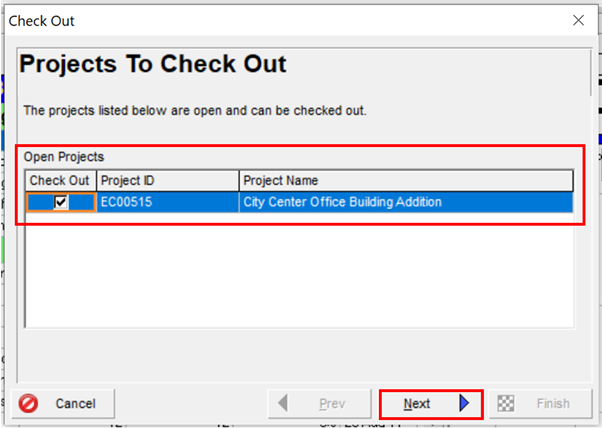
In the Projects to Check Out window, click Next.
Step 4:
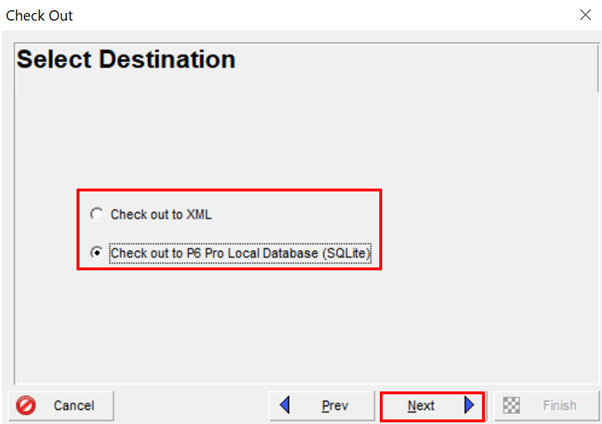
In the Select Destination window, select the “Check out to P6 Pro Local Database (SQLite)” option.
Step 5:
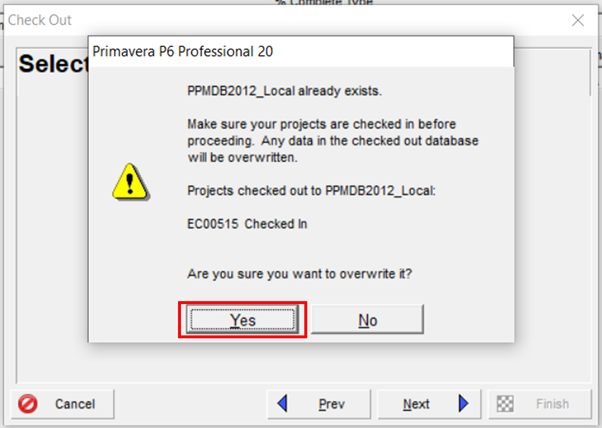
If you have used the Check Out feature previously, this warning window will display, in this case we click Yes.
Tip: Remember that if you need to save projects in the local database, you must check the project back into the main database, or export the project from the local database .
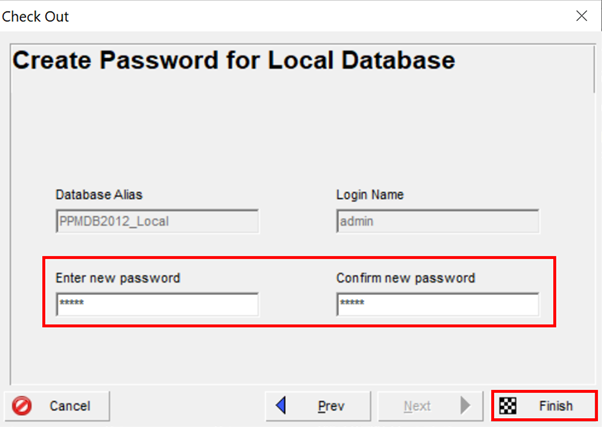
Step 6:
In the Create Password for Local Database window set your password.
Step 7:
Click Finish. P6 will now create a SQLite Database. It will take a few seconds depending on how much data is in the DB.
Step 8:
In the Checkout Result window, click Close.

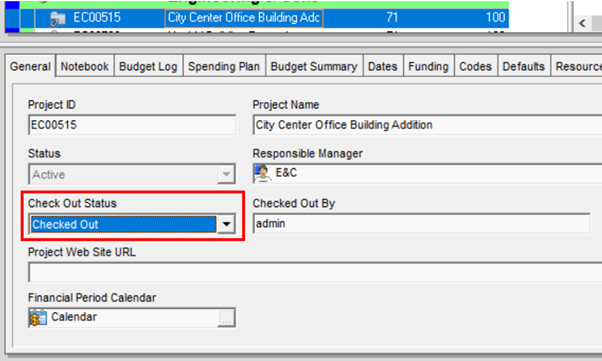
Step 9:
In the Project window General tab the Project shows as Checked Out and is locked to other users.
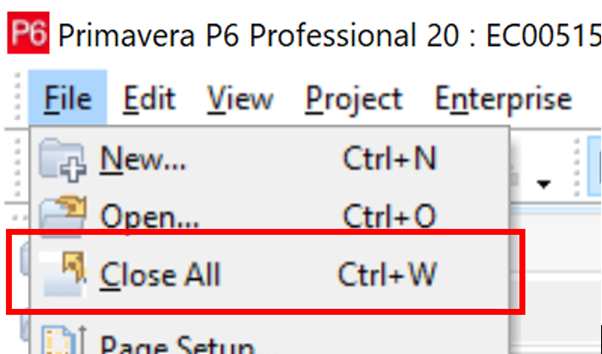
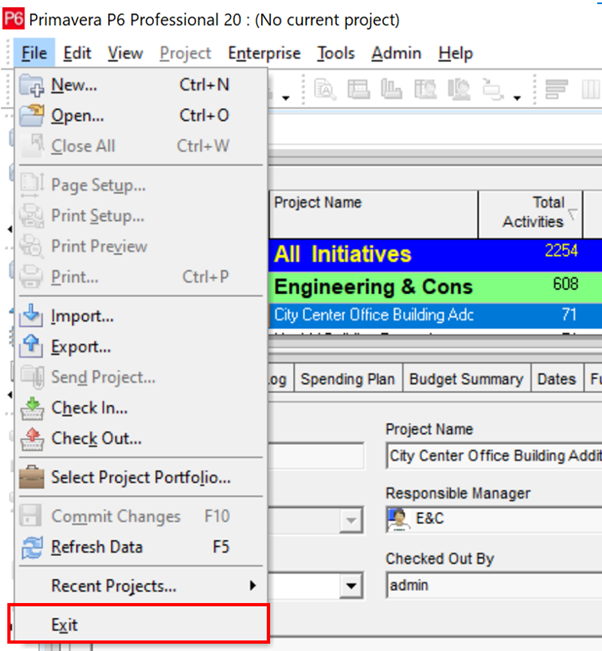
Step 10:
To exit P6 and use the exported project in the local database, click File and then Close All, then click Yes. Then, click File and Exit to exit P6.
Step 11:
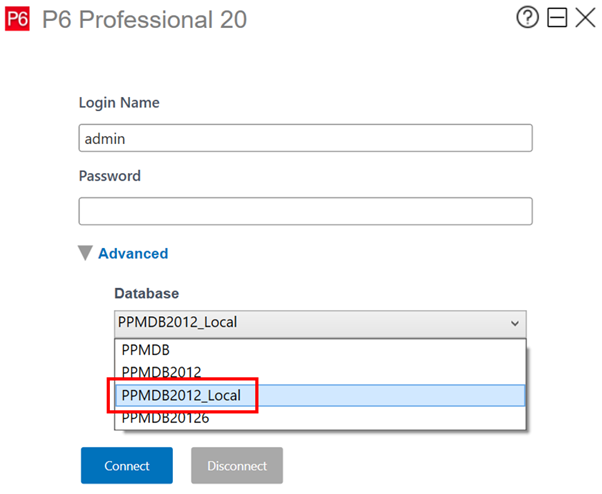
Click on the P6 Login icon on your computer and in the login, window click on the Database drop-down and select the newly created local database from the list.
(The default name for the database is ‘[Database Name]_Local’.)
Step 12:
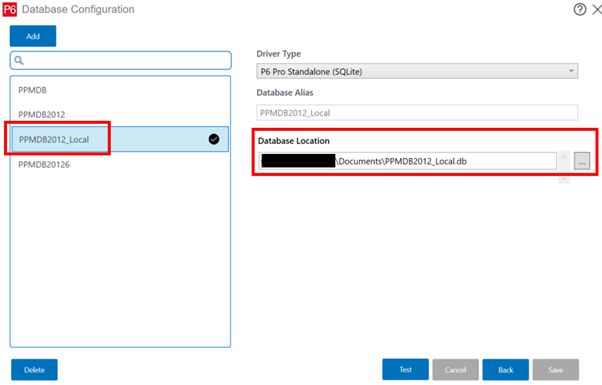
The default location for this database is in documents, in case you would want to transfer it to another device to work on.
Step 13:
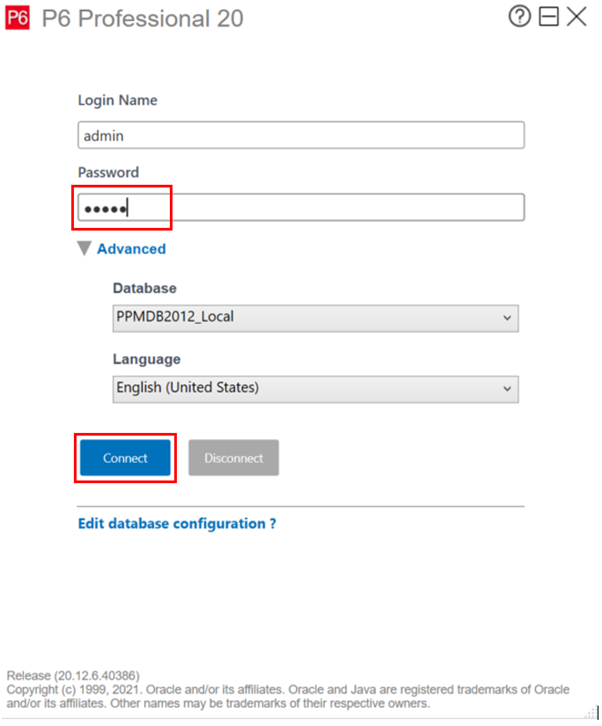
Type the password for the local database and click Connect.
Tip: If you use more than one database and you use the Check Out to a local database, then P6 will create a separate local database for each main database.
Step 14:
In the local database make the required changes to the project.
The offline local database provides you with the flexibility to conduct work when convenient and to prevent others using the project while you work offline.
Step 15:
Once changes are made, exit the local database. Click File and then Close All, then click Yes. Then, click File and Exit to exit P6.


Step 16:
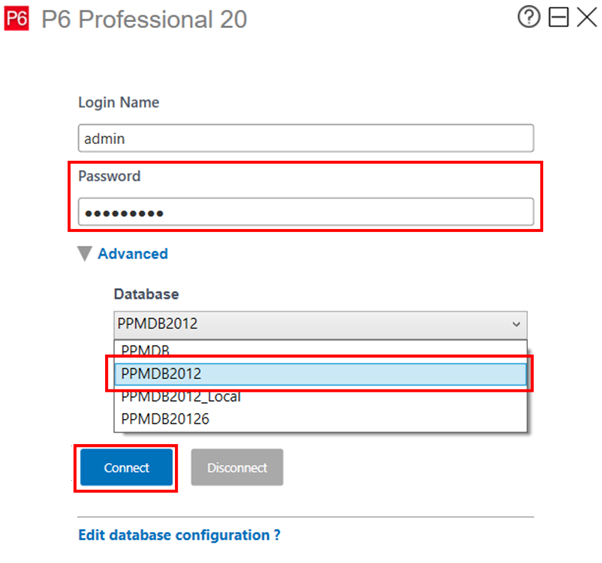
Click on the P6 Login icon on your computer and in the login, window click on the Database drop-down and select the host database.
Step 17:
Type the password and click Connect.
Step 18:
Open the checked-out Project.
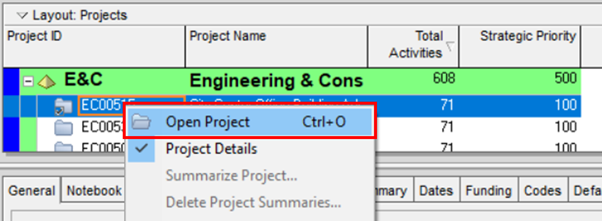
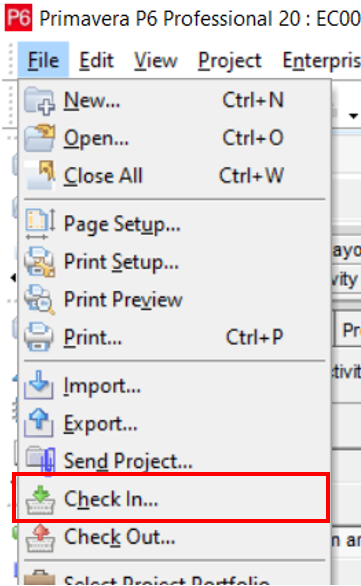
Step 19:
Click the File drop-down and select Check In.
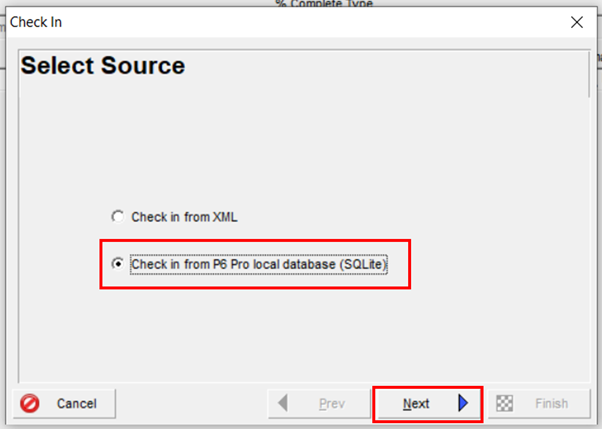
Step 20:
In the Check In , Select Source window, check the box for ‘Check in from P6 Pro local database (SQLite)’. Click Next.
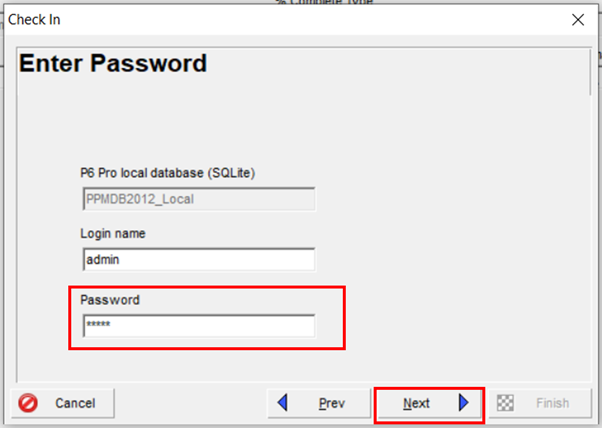
Step 21:
In the Enter Password window type the SQLite password, then click Next.
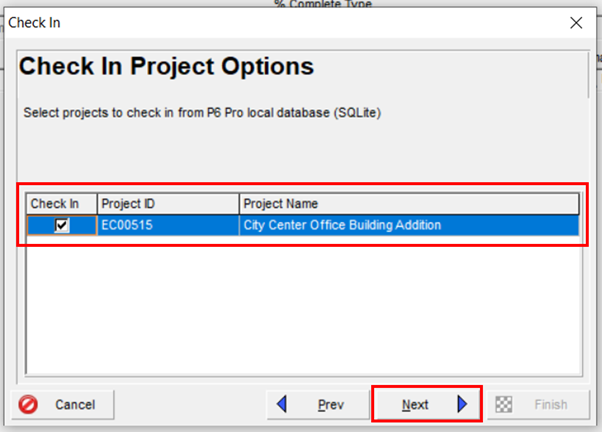
Step 22:
In the Check In Project Options window the project is listed, click Next.
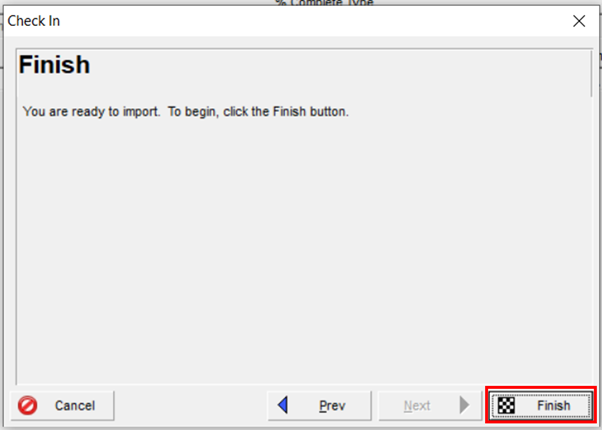
Step 23:
In the Finish window click Finish.
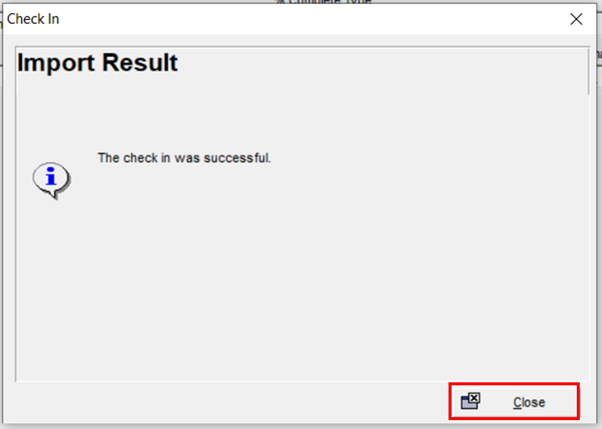
Step 24:
In the Import Result window click Close.
Congratulations! You know now how to properly use the Check Out and Check In features within P6!
Enjoy accessing the database remotely in places with poor internet connection, or in a way that lets only you edit it at a time.
Tips
- The following tips are important when using the Local Database Option.
- Your User security settings do not apply to the checked-out project. This includes data which your user security profile prevents you from seeing.
- Checking in from a local database does not respect admin preferences limits during import and can therefore import invalid data. For example, codes are imported even if they are longer than the code length specified in admin preferences. Reference (Oracle P6 Help)
- Calendar data is replaced not merged when checking-in. Global Calendars are not Imported. Reference (Oracle P6 Help)
- When you check in projects from a local database, resource security is not honored so resources can be assigned to the project even if the user who checks in the project does not have permissions to view that resource. Reference (Oracle P6 Help)
If you would like to know more about any aspects of Oracle Primavera P6 or using any of Oracle’s Primavera products to better support your project management capability, please contact us.
Prescience Technology is the premier Oracle consulting firm in Australia. Get in touch to find out how we can help boost your project management capability with our technology, training and project resourcing solutions.
Next Month’s Topic
Join us next month, when we will discuss the features of the Acumen Fuse Metric Playlist setup!