Setting up and Using Stored Images in Oracle Primavera P6
In Version 19 Oracle introduced the Stored Images feature. This feature enables organisations to store the images they use in Oracle Primavera P6 EPPM and PPM products. In this issue we demonstrate how to set up and use Stored Images in the P6 Professional Client and P6 WEB Gantt Chart options.
To Set Up Stored Images the user must have the Global Privilege of Add/Edit/Delete Stored Images. To use this feature for Global Layouts the User must have the Global Privilege of Add/Edit/Delete Global Activity and Resource Assignments Views. For Project Specific Activity layouts the user must have the Project Privilege of Add/Edit Project Level Layouts.
These tips are relevant for R19 and on versions of P6.
Setting up Stored Images in P6 Professional Client
Follow these steps to setup Stored Images in Oracle Primavera P6 Professional Client:
- Log in to the Oracle Primavera P6 Client application.
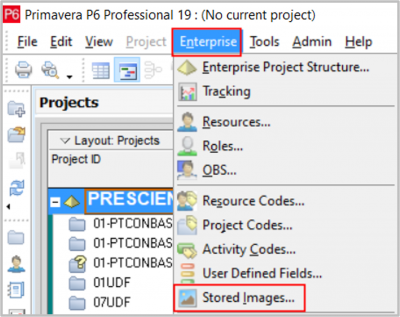
- In the main menu click on Enterprise, and in the drop down select Stored Images.
- In the Images Manager window click the Add button.
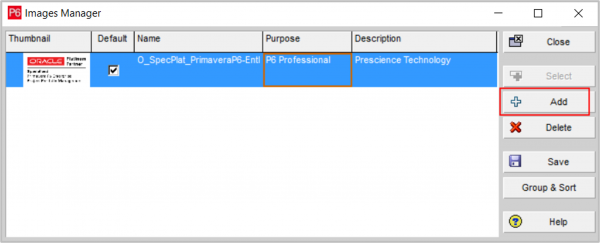
4. In the Open window navigate to where the stored Images are located, select an Image and click the Open button.
Tip! You must have the global Privilege Add/Edit/Delete Stored Images.
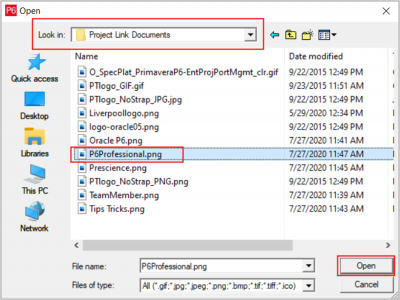
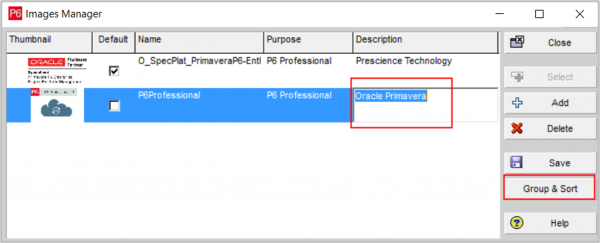
5. After the Image is loaded, Type a Description for the Image.
Tip! If you use common names, then the Group and Sort can be useful to group images.
6. Load as Many Images as required.
Tip! Images must not exceed 500 pixels wide or 500 pixels deep. Ensure you scale the images to meet this requirement before attempting to add them.
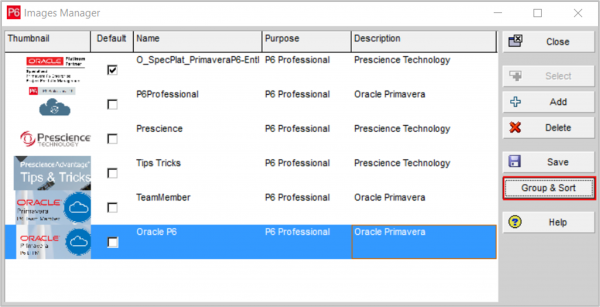
7. Click the Group and Sort button.
8. Click in the Group By field and select the grouping criteria. Click OK.
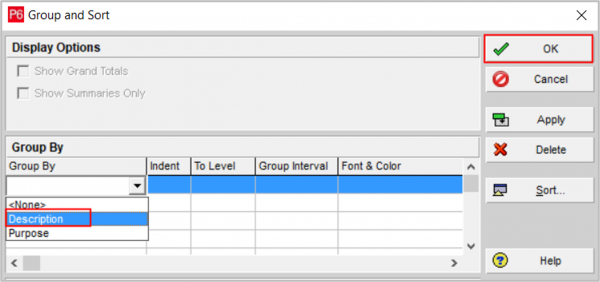
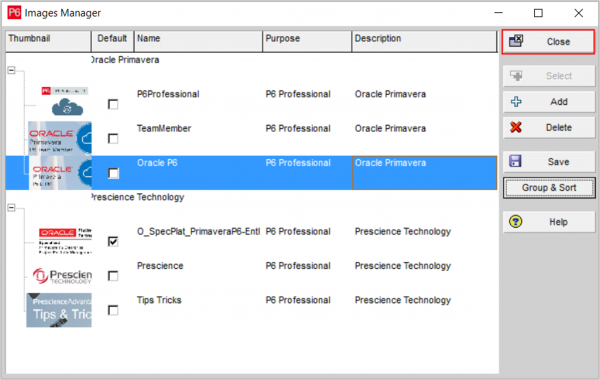
9. The Grouping for the Stored Images is set and will assist you in management of imaging in your system.
10. Click Close to exit Stored Images.
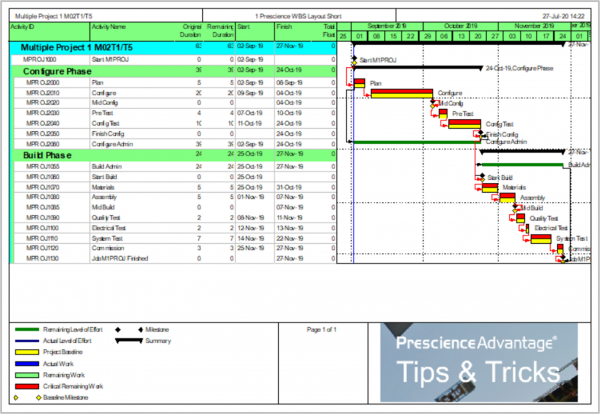
11. Open a Project and use a Layout with the Gantt Chart displayed.
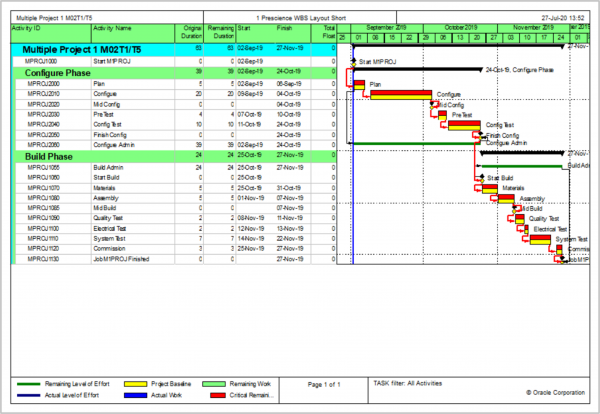
12. Click on the Print Preview icon in the main toolbar.

13. Click on the Footer or Header and in the desired section. Set the Height to the desired Size.
14. Click in the Section drop down and select Stored Images.
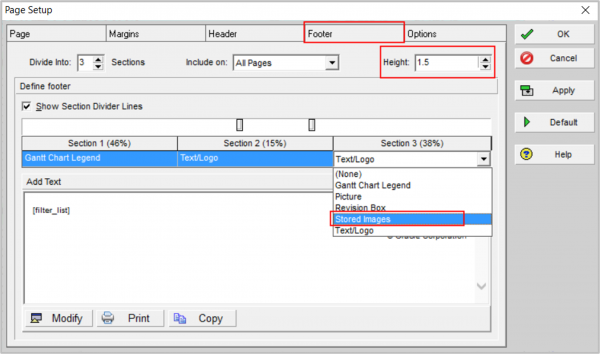
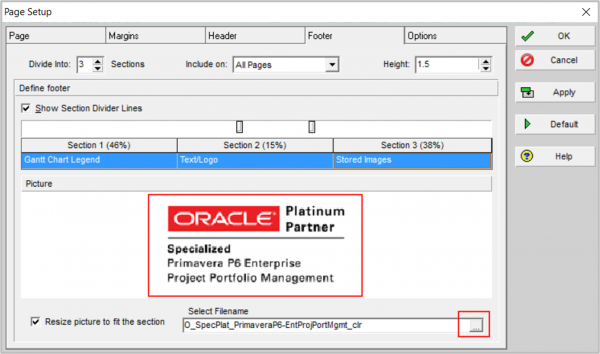
15. The Default images is inserted.
Tip! Selecting the required company standard image as the Default Image ensures consistent trademarking of all your graphical outputs.
16. Click on the ellipsis to insert a different image.
17. Select the image and click the Select button.
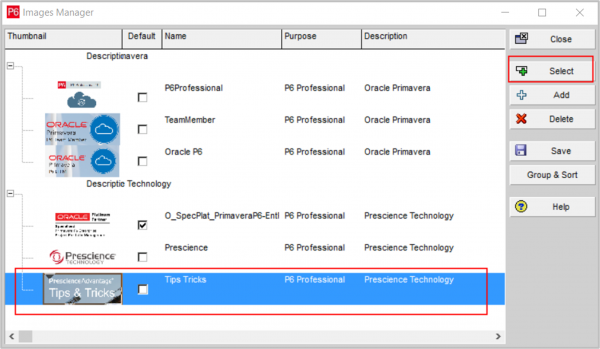
18. The new Images is selected.
19. Click Apply and Ok to complete the page setup.
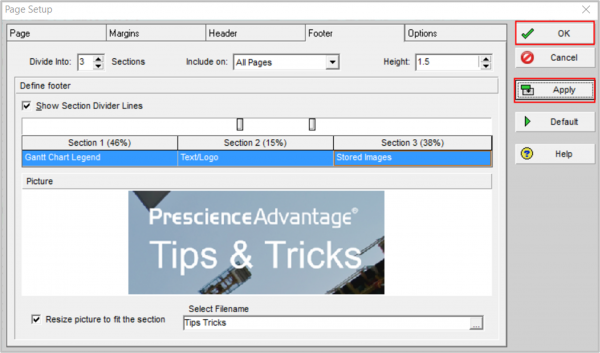
20. The setup is complete. Close the Print Preview and save the changes in the Layout.
Setting up Stored Images in P6 WEB
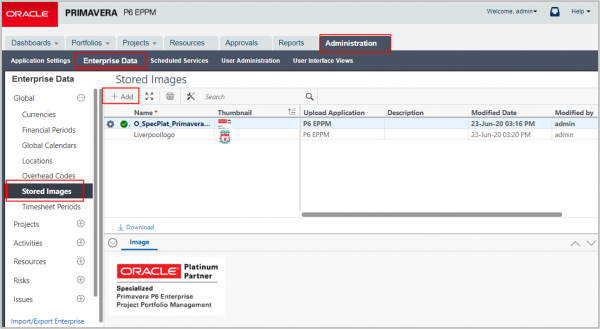
- Log into P6 Web and click on the Administration tab.
- Select the Enterprise Data link and then click on Stored Images.
- In Stored images click the Add button.
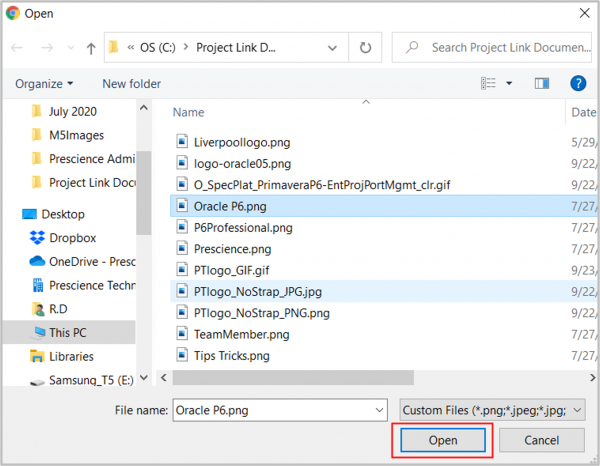
4. Navigate to where the Stored Images are located, select an image and click the open button. Repeat to select the required images.
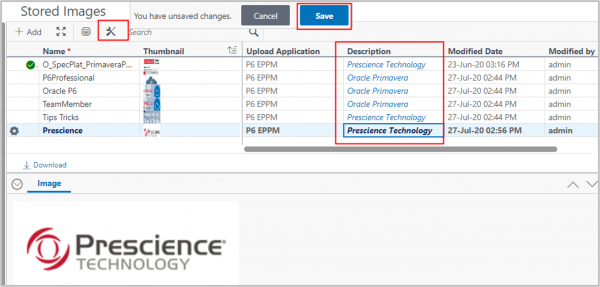
5. Type the Description for each image and then click the Save button.
6. Click on the Tools icon in the toolbar.
7. Select Grouping, click on the Group By drop down and select Description.
8. Click Show field title, and then click the Apply button.
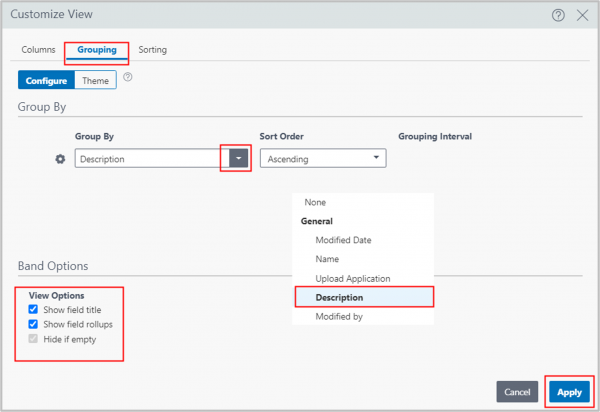
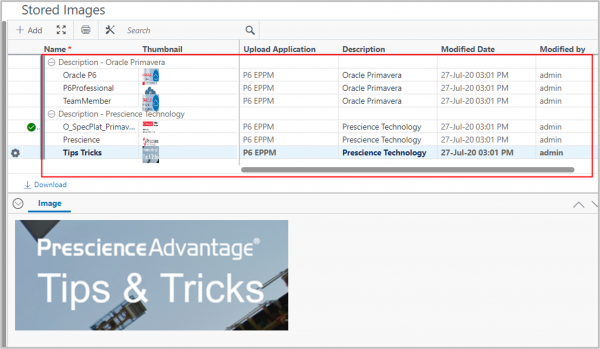
9. The Grouping is now set.
Tip! Grouping Images assists in management of company standards.
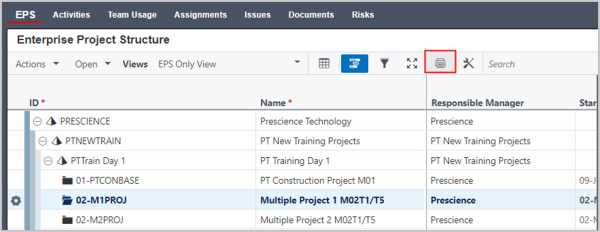
10. Click on the Projects page and then the EPS link.

11. On the EPS page click on the Print icon in the main toolbar.
12. Click on the Print icon in the toolbar.
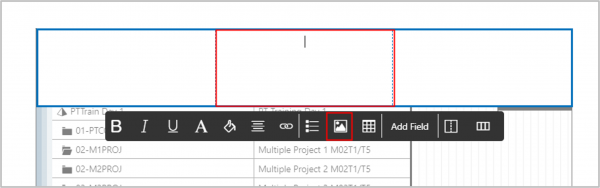
13. In the Print Preview click the Edit Header button.
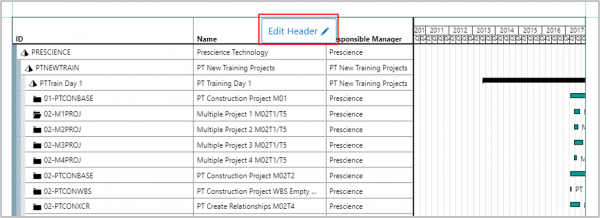
14. Select a Header section.
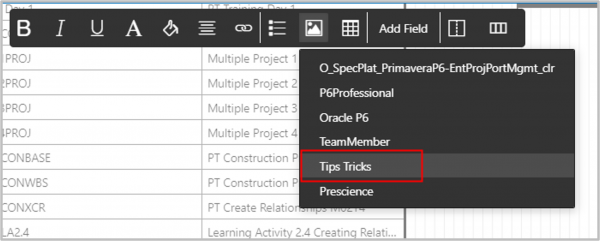
15. Click on the Image icon in the toolbar.
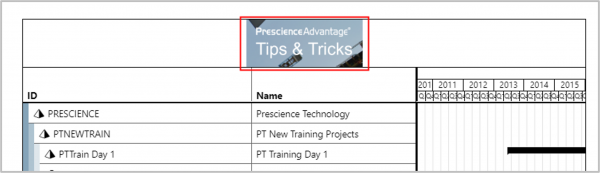
16. Select the Required image from the list.
17. The Image is now in the Header. Close the View.
If you would like to know more about any aspects of Oracle Primavera P6 or using any of Oracle’s Primavera products to better support your project management capability, please contact us.
Prescience Technology is the premier Oracle consulting firm in Australia. Get in touch to find out how we can help boost your project management capability with our technology, training and project resourcing solutions.
Phone: 1300 086 816
Email: [email protected]
Next Month’s Topic
Next month we will discuss Creating Project Portfolios in Primavera P6 Web!